How To - (Tips and Tricks) & NEWSAll the Help You Need and Tips & Tricks for your PC & some Humourous Stuff.
IMPORTANT ANNOUNCEMENT
Hallo to All Members. As you can see we regularly Upgrade our Servers, (Sorry for any Downtime during this).
We also have added more Forums to help you with many things and for you to enjoy.
We now need you to help us to keep this site up and running. This site works at a loss every month and
we appeal to you to donate what you can.
If you would like to help us, then please just send a message to any Member of Staff for info on how to do this,,,, & Thank You for Being Members of this site.
How to Burn Discs Using Windows or File Explorer in Windows 7 & 8
How to Burn Discs Using Windows or File Explorer in Windows 7 & 8
What program do you use to burn your data to discs? If you're thinking Nero, Roxio, Power2Go or any other third party application and you're running Windows 7 or 8, you might be interested to know that you have a free option built right into your operating system. Windows Explorer and File Explorer have the ability to burn your data to a CD, DVD or Blu-ray disc. Stop downloading, installing or (shudder) paying for third-party software; instead, read on to learn how to use the built-in tools made available by Windows.
Getting Started - How to Start the Disc Burning Process
To get the burning started, you'll need to insert a burnable disc into your drive. Once the disc spins up, Windows will recognize it and ask what you want to do. The AutoPlay prompt looks different in different versions of Windows, but the options provided are similar.
Here's how it looks in Windows 7:
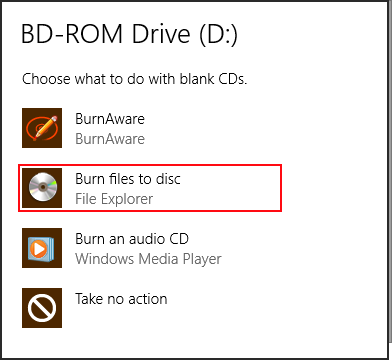
And here's how it looks in Windows 8:
Whether you're in Windows 7 or Windows 8, you'll want to click or tap "Burn files to disc."
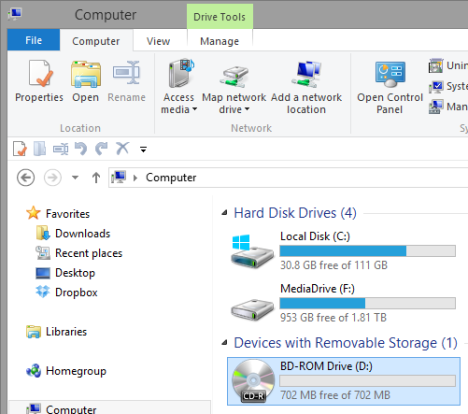
If you have AutoPlay disabled, you won't see the pop-ups shown above. Instead, you'll have to open File/Windows Explorer and double-click (or tap) your disc drive in the Computer section.
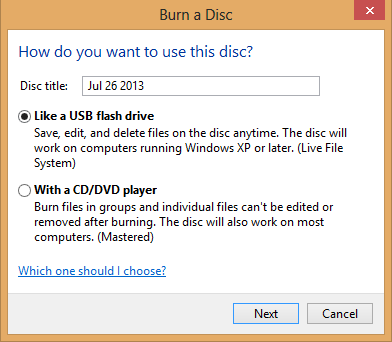
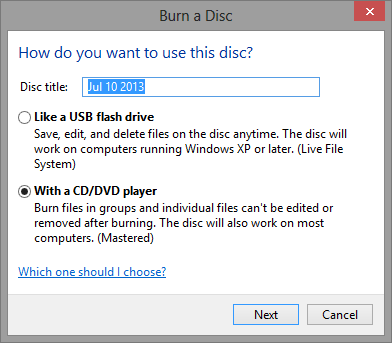
Once you've selected "Burn files to disc" or double-clicked your drive, you'll be greeted by a dialog that gives you two options for burning your disc.
Make your selection depending on how you intend to use the finished product:
Like a USB Flash Drive - This burns the disc using the Live File System, which allows you to add or remove files at will like you would a flash drive. Discs burned in this manner are only usable on computers running XP or a newer version of Windows.
With a CD/DVD Player - This options burns your files and closes the disc allowing it to be played in a CD/DVD player or on any computer. Files can still be added after the disc is closed, but you won't be able to remove files already burned.
If you need help deciding which format to select, check out this page provided by Microsoft.
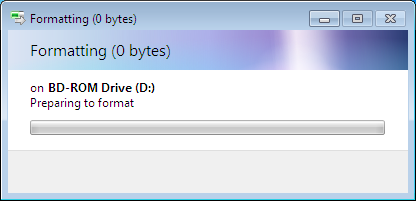
If you opt to burn a disc which files can be added to or removed from at will, select "Like a USB flash drive" and click or tap Next. Windows will take a some time to format the drive. Depending on the type of disc you want to burn, this process can take a while. However, you can do this also on normal discs, not only re-writables.
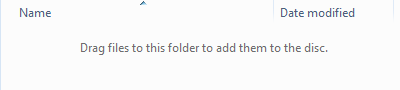
Once the disc is formatted properly, you can use File/Windows Explorer to open the disc. When you look at its root location, you will see a message that says: "Drag files to this folder to add them to the disc."
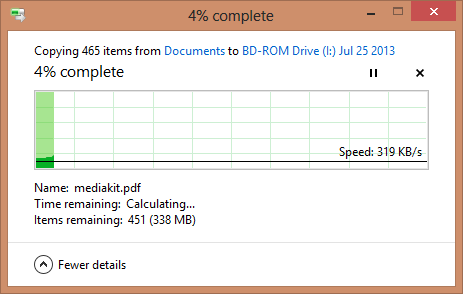
Find the files or folders you wish to burn and either drag and drop them to the disc or copy and paste them. When you add files, they will automatically be burned to the disc.
The file copying dialogue actually shares the status of the disc burning operation.
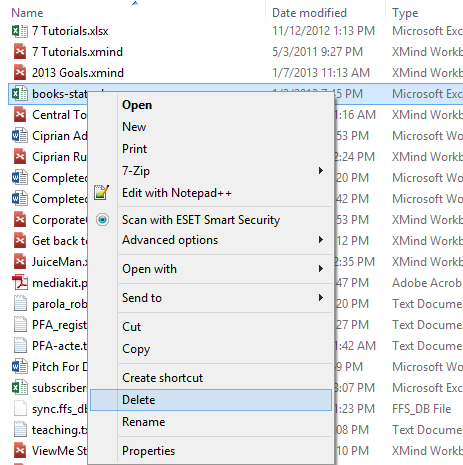
Once files are burned to the disc, you can go ahead and remove them if needed. Just select a file, right click (or press and hold) and hit Delete. In Windows 8, you can find the Delete button also on the ribbon, in the Home tab.
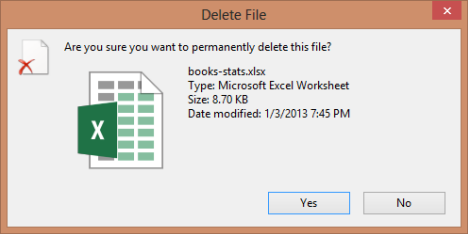
When asked if you're certain you want to permanently remove the file, click or tap Yes.
The files removed from a disc aren't sent to your Recycle Bin. They're well and truly gone after deletion.
When you've finished adding or removing files from your disc, you'll want to close your session. This allows you to remove the disc and continue using it like a flash drive on another computer.
How to Close a Disc Burning Session in Windows 7
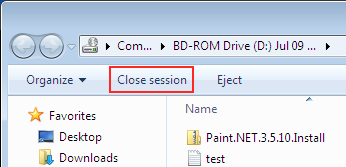
You have two options to do this in Windows 7. If you want to keep the disc in the drive after closing the session, click "Close session", on the top of the Windows Explorer window.
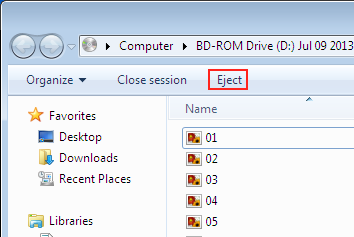
If you intend to remove the disc after completion, click Eject.
Even when you click Eject, Windows will close your session before releasing the disc
How to Close a Disc Burning Session in Windows 8
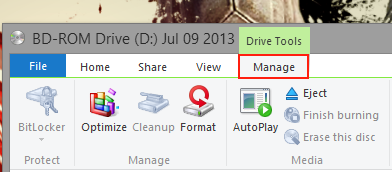
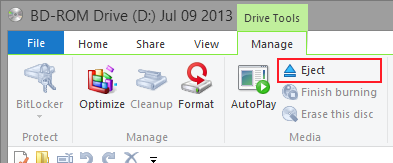
In the File Explorer window, go to the root of the disc you just burned and deselect any files or folders you may have highlighted. Next, click or tap the Manage tab on the ribbon.
Click or tap Eject.
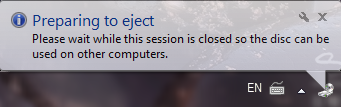
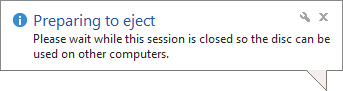
A notification is shown, that Windows 8 is preparing to eject the disc. Wait for the session to be closed.
Each time you close a session, approximately 20 MB of data is used from your disc. Also, Windows 8 does not provide the option to close the session without ejecting the disc.
Burning a Disc for Use in a CD or DVD Player
If you want a disc that is more widely usable among your non-Windows devices, select "With a CD/DVD player" and click or tap Next.
Adding files to the disc is essentially the same as previously described, the only difference is that the files aren't automatically burned to the disc as you add them, just to a temporary files folder.
First, make sure that you add all the files you want burned to the disc. Once you start the burning process, the procedure is the same in Windows 7 and Windows 8. You'll just have to click the right button to get started for the operating system you're using.
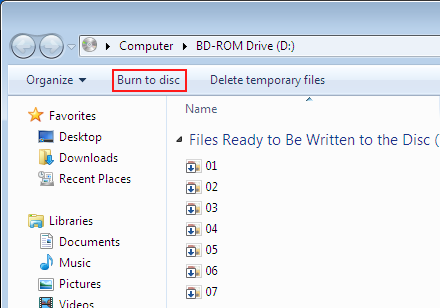
In Windows 7, you'll then need to click "Burn to disc."
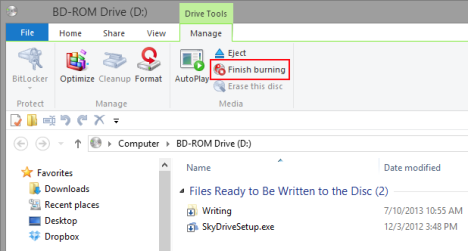
In Windows 8, click or tap "Finish Burning", in the Manage tab.
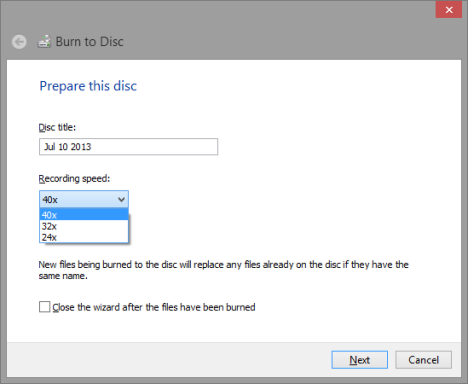
Before the burning process starts, you'll have the chance to provide a name for the disc and select the recording speed. Make your selections and then click or tap Next.
From here on, this procedure is the same in both Windows 7 and Windows 8.
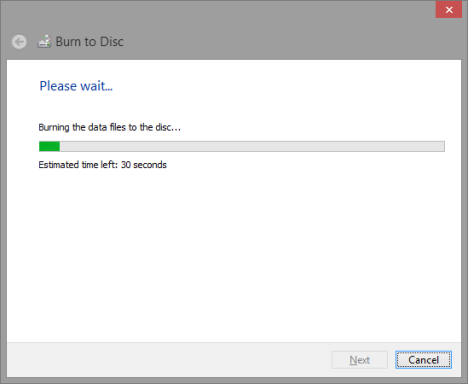
You'll need to wait while your files are recorded to the disc. The amount of time required for this step depends on the amount of data, the type of disc, your hardware configuration and the speed you selected.
Once done, you'll be given the option to create another disc with the same files. If you want to make another copy, click or tap "Yes, burn these files to another disc."
If not, just go ahead and click or tap Finish.
How to Delete Temporary Files from Disc Before Burning
When burning a disc for use with a CD or DVD player, the files you add to the disc before burning are temporary files. Once you burn them, you'll be unable to remove them from the disc, but you're free to delete them prior to completing the burning process.
To remove individual files, simply select the files you want to remove, right-click (or press and hold) and hit Delete. It's just like deleting a file from any other folder in File/Windows Explorer.
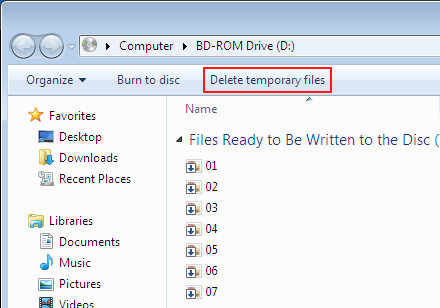
In Windows 7 you also have the option to click the "Delete temporary files" on the top toolbar, in the Windows Explorer window.
This removes all temporary files from the disc with a single click.
How to Add Files and Folders to Completed Discs
Once you've completed your disc, regardless of what format you chose, you can re-insert your disc and continue to work with it.
With a disc burned for use as a flash drive, you can add new files as often as you want as well as delete files already burned to the disc. Just keep in mind that each closed session removes 20 MB of usable space from the disc.
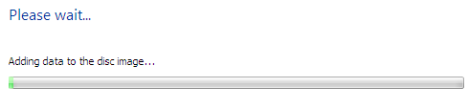
With discs burned for use with a DVD or CD player, you can add files, but you won't be able to remove them once they're burned. Adding files to a closed disc works exactly like adding them to a new disc, you'll just notice that your progress bar changes to "Adding data to the disc image..." rather than "Burning the data files to the disc..."
How to Erase Re-Writable CDs/DVDs in Windows 7 & Windows 8
Some discs, including CD-RW, DVD-RW or BD-RE, can be erased regardless of which format you use to burn them. File/Windows Explorer has the ability to wipe these discs for you. The procedure to get started varies from Windows 7 to Windows 8, but the steps after you get started are the same.
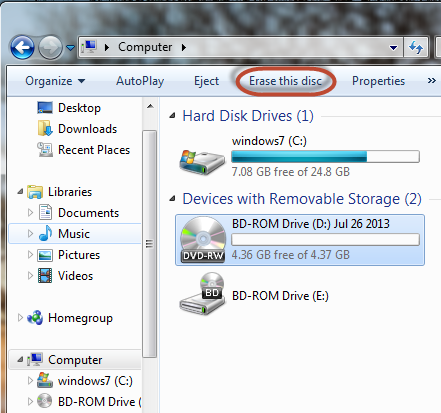
In Windows 7, open Windows Explorer and go to the Computer section. There, select the disc you want to erase, without opening it. Click "Erase this disc" on the top toolbar.
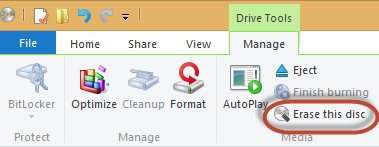
In Windows 8, open File Explorer and go to the Computer section. There, select the disc you want to erase, without opening it. Select the Manage tab on the ribbon and then click or tap "Erase this disc."
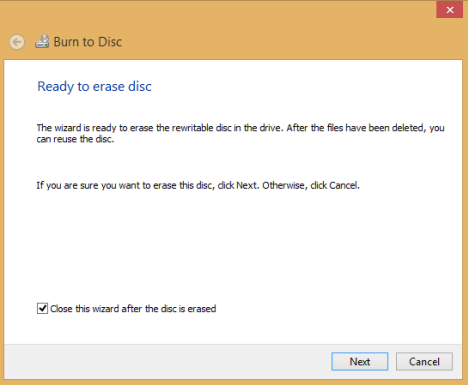
The resulting wizard will provide you the option to select "Close this wizard after this disc is erased." If you don't want a notification when the job is complete, select it before you click or tap Next.
You'll need to wait while the disc is wiped for you. The time the procedure takes depends on the amount of data on the disc, the type of disc and your drive.
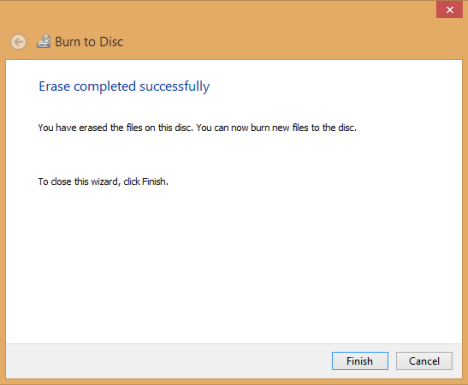
If you haven't checked "Close this wizard after the disk is erased" you will see a notification dialog explaining that the disc was successfully erased. Click or tap Finish.
If you have checked "Close this wizard after the disk is erased," the wizard will simply close when the job is done.
Conclusion
As you can see, burning data using File/Windows Explorer is quick and easy. However, as many manufacturers include bundled burning software, many users fail to ever notice this feature or make use of it. It's a shame because, for most user's needs, File/Windows Explorer can easily handle all data burning requirements. If you're using third-party software, give it a try, you might be able to save yourself some time, money and disc space.


 Linear Mode


