conclusion.....
Improve Garish Colors with the Hue/Saturation Tool
It can be all to easy to start working with a color that seems like itll be the right shade, only to turn out too bright, garrish or ugly. Heres how to adjust it and continue painting.

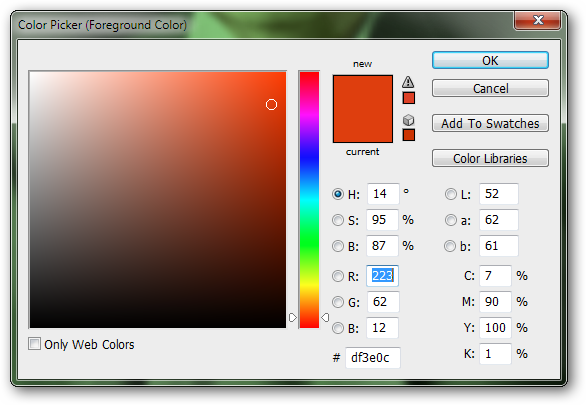
Paint or find a sample of the color you want to change to better suit your image.
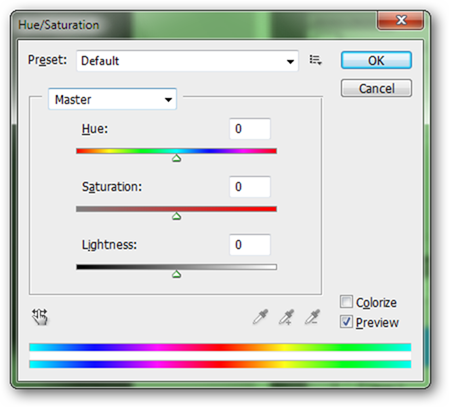
Press

to bring up the Hue/Saturation tool.

Adjust Hue, Saturation, and Lightness values until your color suits your image. As you can see above, the garish red has transformed to a more appropriate reddish brown.

Alt + Click on the

in your layers panel, beside your active layer inorder to hide all the other layers. Then press the

to select the Eyedropper tool. Click your painted swatch once to select the changed color as your foreground color.

Alt + Click the same

again to turn all the layers back on. Shortcut key

will give you back the Brush Tool and allow you to return to painting like normal. Add as many or as few colors as you feel your image needs, in all the details you care to put in.

And with minimal work and time invested, a black and white image is now full of rich color. Practice with the brush tool, as it is likely the best method for achieving excellent results in colorizing black and white photographs.
Credit to Eric Goodnight
Image Credit: Portrait of Thomas Edison, in public domain.